Custom SwiftUI view modifier for paid app features
In my app dataFude for Simulator I’ve decided to offer some features for free and others only to users who pay for the app.
This way, everyone including students and hobbyist can meaningfully use the app, while professional users can support the development.
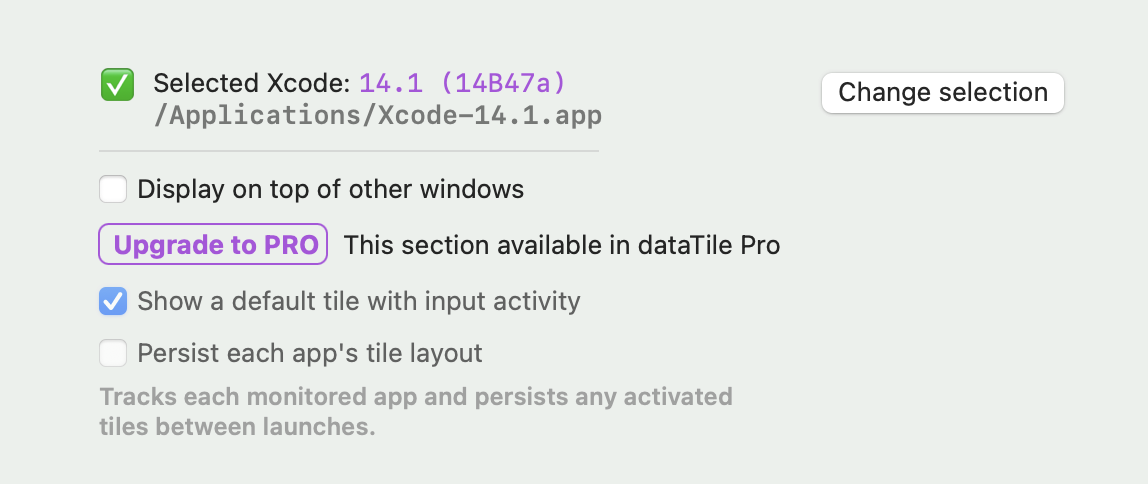
I considered few different approaches including compiling two separate versions of the app, but ultimately went for shipping a single binary that relies on RevenueCat and enables/disables some parts of the UI depending on the purchase status.
SwiftUI view modifier for paid-only UI
I ended up building a single view modifier, that can enable or disable content across the app. Let’s have a look.
Firstly, I added a new custom ViewModifier that would either:
- display its content unchanged, or
- disable user interaction for its contents and optionally insert a label on top:
|
|
My ProFeatureModifier takes my model class that exposes the app subscription status received from RevenueCat and optionally two more parameters — a custom message to show on top of the disabled piece of UI and additionally a custom font for that message in case I need that.
The body of the modifier just checks my model and renders either of the two options above:
|
|
Note how if the UI is disabled I put it at 70% opacity next to actually disabling the user interactions for a little bit of added drama. 🤡
The final step is to add the modifier method so you can add it directly to SwiftUI views in your view hierarchy:
|
|
Converting features to paid model in practice
Finally, let’s have a quick look how this looks in practice. It takes just a minute to convert buttons, menus, and whatever else you have to paid features.
Let’s add the new modifier to the list of auto-capture groups in the app’s preferences:
|
|
proFeature lives alongside all the other modifiers in the SwiftUI code above like border and frame. revenueModel is my already-initialized RevenueCat model object.
That’s all the code changes to convert editing auto-capture groups to a paid feature:
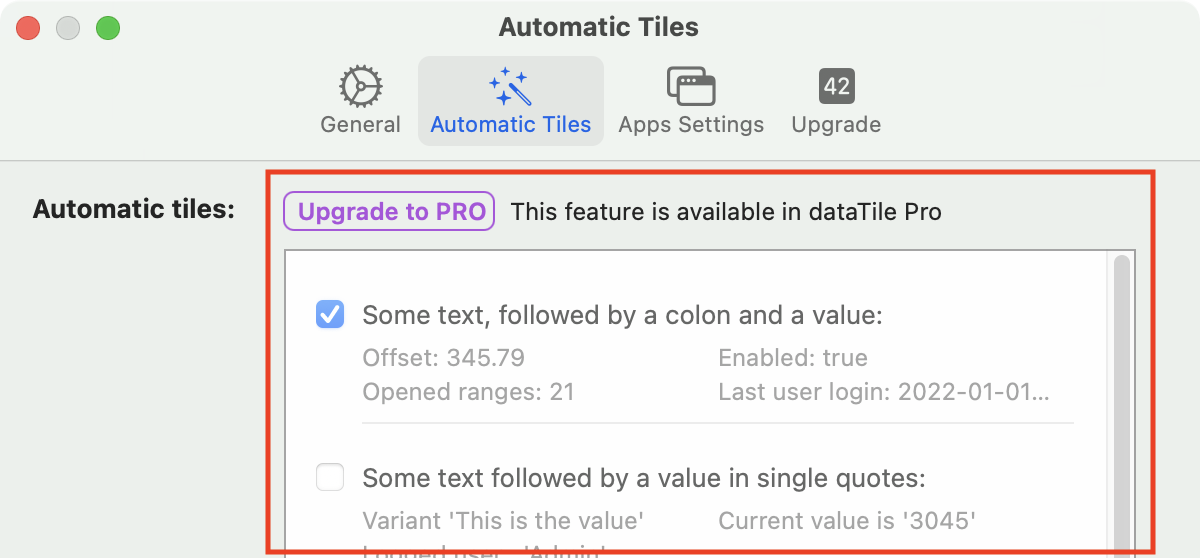
When clicked, the “Upgrade to PRO” button opens the subscription UI from just about anywhere in the app.
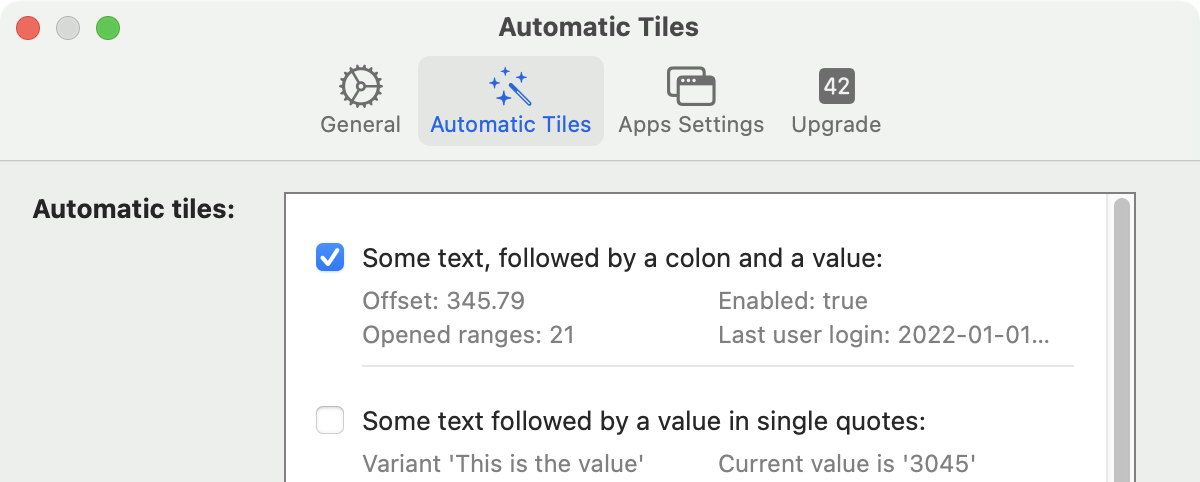
And after purchasing a Pro plan, that preferences tab from above looks like this:
Where to go from here?
Obviously, check out dataFude for Simulator to super-charge your debugging flow.
Thank you!
My DMs are open at https://twitter.com/icanzilb and https://mastodon.social/@icanzilb

