Binding a simple list to a UITableView
While still keep improving the current version of CombineDataSources I tought it’d be nice to post few articles on the current API design along with some code samples.
This would be nice in order to get some feedback and to try putting some of the code in context.
CombineDataSources Introduction
RxSwiftCommunity’s excellent RxDataSources allows developers to reactively bind data to table and collection views. It uses a lot of the underlaying structure of RxSwift and it’s very powerful.
Since I know how important binding lists to UI controls is, I started creating a similar library for Combine. The two libraries are very different in how they work but I’m aiming for similar (if not better) end results 😁
Additionally, in the current API iteration I had to introduce a bind(subscriber:) operator to fascilitate binding UI controls. It could happen that some sort of bind is introduced in later versions of Combine or in a popular in the future Combine 3rd party library but for the moment CombineDataSources has its own very simple operator for binding.
Binding a Static List of Elements
Let’s have a look at the simplest code sample:
let people = [
  [Person(name: "Julia"), Person(name: "Vicki")]
]
var subscriptions = [AnyCancellable]()

...

people.publisher.bind(subscriber:
  tableView.rowsSubscriber(cellIdentifier: "Cell",
    cellType: UITableViewCell.self,
    cellConfig: { cell, indexPath, person in
      cell.textLabel!.text = person.name
    }
  ))
  .store(in: &subscriptions)
Okay, that ought to be at least a bit confusing at first sight… so let’s dig in.
This code takes a simple static list of elements and binds it to a table view. Even if that’s a relatively simple task you can see the benefit of using a reactive library like Combine (or one of the aleternatives for that matter).
Instead of having to create a datasource object, retain it somewhere (your view controller or elsewhere), and then have series of methods that are called in specific order by UIKIt - you simply declare the list of elements that you want to display, create a publisher out of it, and bind the elements to a table-specific subscriber.
As you probably already guessed it - the magic happens thanks to the custom table-specific subscriber offered by CombineDataSources.
In the code sample above you bind the list to a subscriber created via calling:
tableView.rowsSubscriber(cellIdentifier:cellType:cellConfig:)This is one of the convenience methods on UITableView that CombineDataSources adds via an extension 🚀. (The API is modelled after RxDataSources’s approach.)
The returned subscriber can handle a flat table view with a single section thus the rowsSubscriber method name - it binds a list of elements to table rows.
The method takes 3 parameters:
cellIdentifieris the identifier to use when dequeueing cells to display in the table view.cellTypeis the type of the dequeued table cells. In the sample above we’re usingUITableView.selfbecause we don’t need custom cells but when your table contains custom cells do provide the type you need here.cellConfigis a closure that the subscriber will call to set up each cell before displaying it in the table. ThecellConfigclosure itself takes 3 parameters which offer you everything you need to initialize the cell UI:- the cell object casted to the cell type you expect.
- the index path of the cell in the table view.
- the data element for the specific row.
So for each element the subscriber needs to bind it will in turn do the following:
- Dequeue a cell with the given identifier
- Cast the cell to the expected type
- Call your closure with the cell and data element leaving it to you to do any UI setup you need.
The bind(subscriber:) operator returns an AnyCancellable which allows you to memory manage the binding any way you want. The most straight forward way is to have a [AnyCancellable] property in the view controller managing the table view and append the binding cancellable to it. This way when the view controller is dismissed that will also cancel the table view binding.
If we have another look at the same code sample it’ll now make much more sense:
let people = [
[Person(name: "Julia"), Person(name: "Vicki")]
]
var subscriptions = [AnyCancellable]()
...
people.publisher.bind(subscriber:
tableView.rowsSubscriber(cellIdentifier: "Cell",
cellType: UITableViewCell.self,
cellConfig: { cell, indexPath, person in
cell.textLabel!.text = person.name
}
))
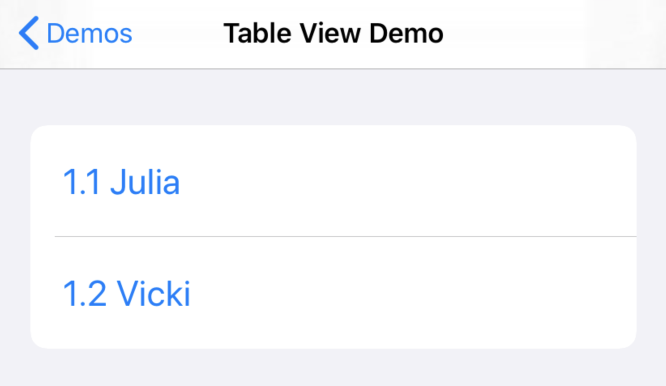
.store(in: &subscriptions)And in fact if we run the code we should see a populated table on screen 😍:
Binding a dynamic list
Admittedly, binding static lists (even tought superior to the traditional UIKit way) isn’t all that exciting. But here comes the power of Combine - binding a static list vs a dynamic list is identical since Combine only cares that it receives a publisher and handles any incoming data in exactly the same way.
So how can we turn the simple data list we had before into a dynamic list? Let’s use @Published to do that. This time we’ll have people as a property on a view controller and it’ll use the @Published property wrapper:
ViewController.swift:

@Published
var people = [Person(name: "Julia"), Person(name: "Vicki")]

var subscriptions = [AnyCancellable]()

...

ViewController.viewDidLoad():

$people.bind(subscriber:
  tableView.rowsSubscriber(cellIdentifier: "Cell",
    cellType: UITableViewCell.self,
    cellConfig: { cell, indexPath, person in
      cell.textLabel!.text = person.name
    }
  ))
  .store(in: &subscriptions)
As said - the binding code is exactly the same! The only difference is that instead of getting a collection publisher you use the $people wrapper.
Now each time you add an element to people the custom table subscriber will receive the new data and update the table:
people.append(Person(name: "Pete"))

...

people.append(Person(name: "Marin"))

...

people.append(Person(name: "Zoe"))
Collection view subscribers
CombineDataSources adds matching subscribers also to UICollectionView so if you’d like to do similar binding like above you’d use UICollectionView.itemsSubscriber(...) like so:
$people.bind(subscriber:
  collectionView.itemsSubscriber(cellIdentifier: "Cell",
    cellType: UICollectionViewCell.self,
    cellConfig: { cell, indexPath, person in
      ...
  }))
  .store(in: &subscriptions)
Of course in the case of collection view cells using the default UICollectionViewCell.self doesn’t make much sense since collection views do not offer default cell styles like table views. Just use the type of your own collection view cells.
That’s all for today, next I’ll look into binding more complex lists and more of the in-the-works CombineDataSources features.
Where to go from here?
You can check the next post in the CombineDataSources installments here: Binding a list with different sections and cells.
To learn more about working with UIKit and Combine check out Combine: Asynchronous programming with Swift - this is where you can see all updates, discuss in the website forums, and more.